Super cool birthday present from my family this year - a GoPro Hero3 camera. I shot this video with the camera mounted to the roll bar. Nice twisty road on a sunny day!

Monday, January 20, 2014

Monday, September 2, 2013
Hardtop Paint Is A Match!
You cannot begin to imagine the weight that lifted from my shoulders when I saw the top and the car together....


Saturday, August 31, 2013
Factory Hardtop Restoration
Dug in deeper on the hard top restoration for my TR. I've owned this top for about 20 years. When I bought it originally, my uncle, father and I slapped some matching lacquer on it and I used it. Weather took its toll however and it eventually looked horrible.
Today was finally a day to lay the paint. I shot Nason 2k primer on the original white paint (prepped with 220). Over the top went Dupont ChromaBase basecoat, matched by the Dupont computer. Finally, I shot Nason clearcoat over the basecoat for a nice shine.
I'm leaving it to cure for 3 days before I move it or touch it. That should ensure a long lasting shine.


Today was finally a day to lay the paint. I shot Nason 2k primer on the original white paint (prepped with 220). Over the top went Dupont ChromaBase basecoat, matched by the Dupont computer. Finally, I shot Nason clearcoat over the basecoat for a nice shine.
I'm leaving it to cure for 3 days before I move it or touch it. That should ensure a long lasting shine.


Thursday, August 22, 2013

Tuesday, August 20, 2013
Triumph TR6 Factory Hardtop
One of the great accessories I added to my TR6 many years ago was a hard top. The TR6 is known as a flexy flyer because of its very flexible frame. The hardtop significantly stiffens up the entire chassis because of how it attaches and the fact that it was made for the car in steel instead of the more common fiberglass (which would add no rigidity).
My father and I found mine through the 6-Pack classified adds which were previously posted in the printed club newsletter. A trip to Indiana or Ohio yielded a white factory hardtop in usable shape. I should mention that this was 20 years ago. We painted that top to match the BRG paint on my car. You can see it laying in the background of this photo from a 2001 autocross.

This year, I decided to undertake a full restoration of my hardtop. The years had not been kind to it. Rust had crept into many different areas, and the rubber seals and headliner were simply shot. The paint itself (a quickly done splash of lacquer) was faded, flat and showed cracking all over.
I stripped the top in the late spring and worked each weekend this summer on stripping the paint back, while also remediating the rust. It was messy work...


After completing the teardown task, I had my first opportunity to spray some paint. I primed the top in my driveway (still using full protective gear) and got her ready to go. It now needs basecoat and clear to begin looking like a top again. I've also managed to find all the soft bits (seals and headliner) on sale throughout the year, so I can complete the top after the paint cures. I'd really like it to be ready for this fall.


My father and I found mine through the 6-Pack classified adds which were previously posted in the printed club newsletter. A trip to Indiana or Ohio yielded a white factory hardtop in usable shape. I should mention that this was 20 years ago. We painted that top to match the BRG paint on my car. You can see it laying in the background of this photo from a 2001 autocross.

This year, I decided to undertake a full restoration of my hardtop. The years had not been kind to it. Rust had crept into many different areas, and the rubber seals and headliner were simply shot. The paint itself (a quickly done splash of lacquer) was faded, flat and showed cracking all over.
I stripped the top in the late spring and worked each weekend this summer on stripping the paint back, while also remediating the rust. It was messy work...


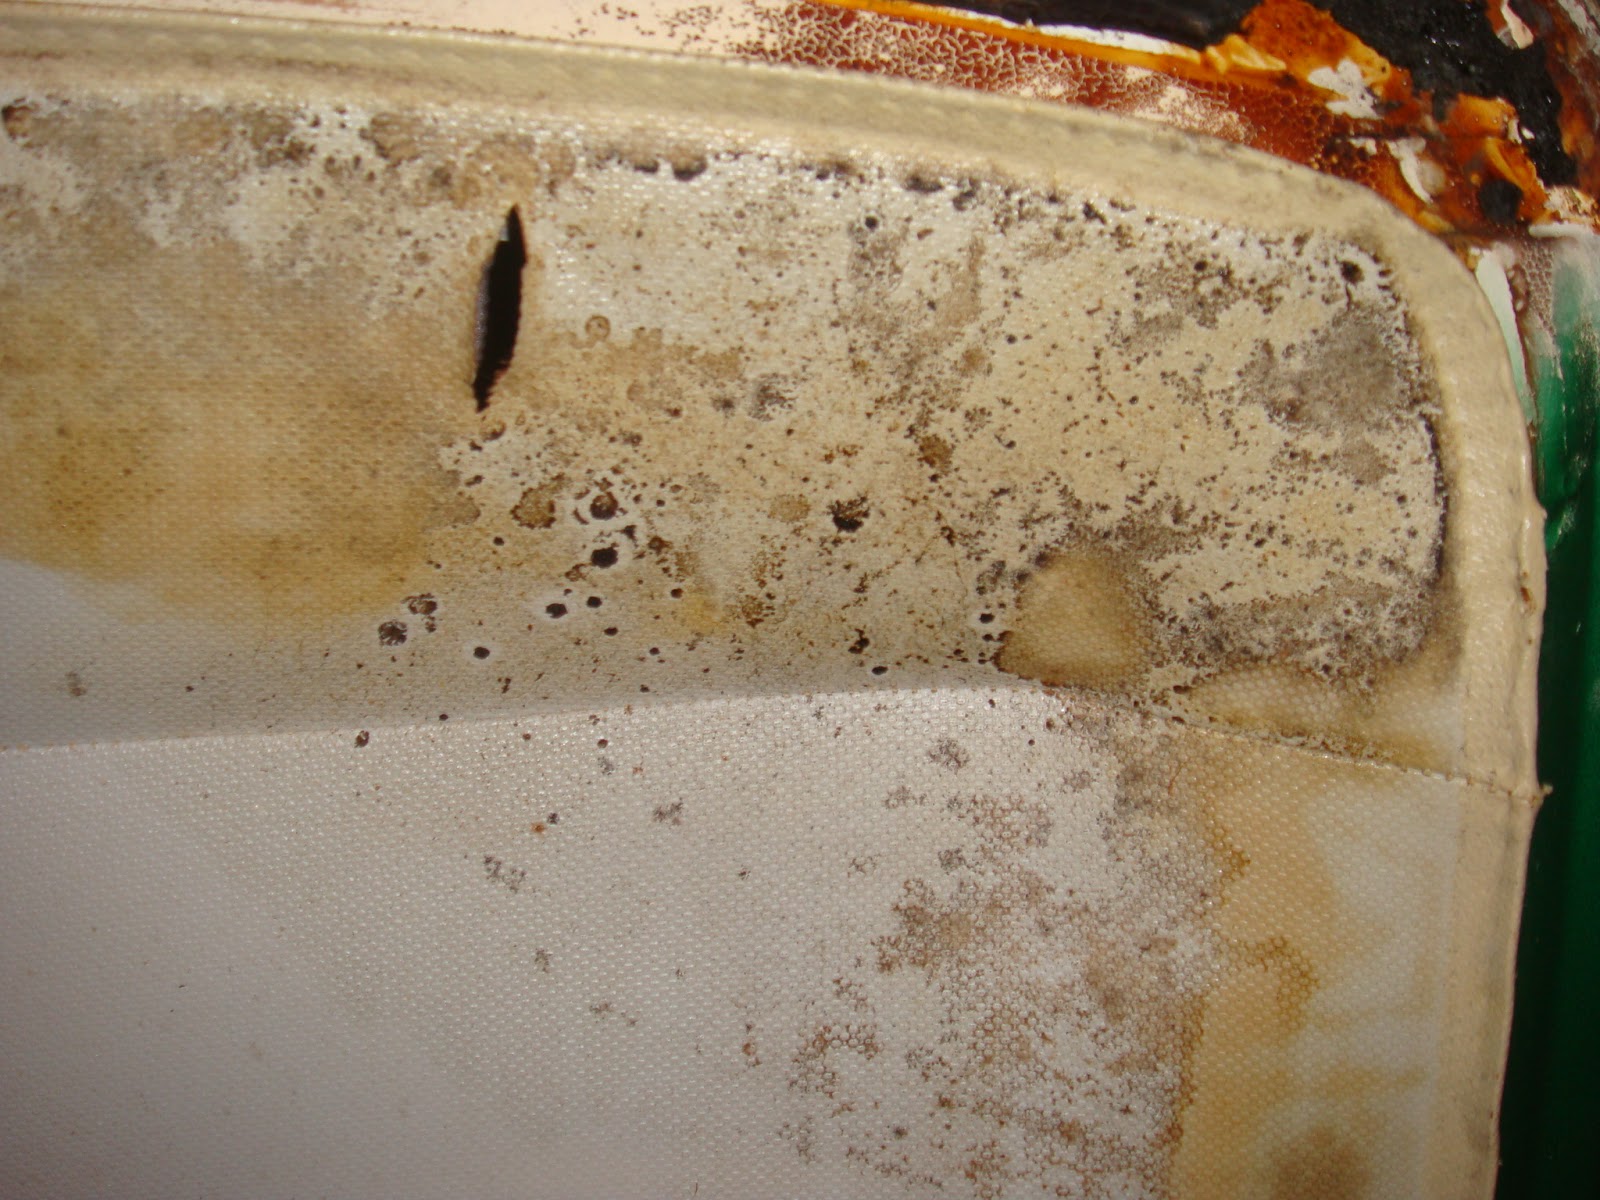


After completing the teardown task, I had my first opportunity to spray some paint. I primed the top in my driveway (still using full protective gear) and got her ready to go. It now needs basecoat and clear to begin looking like a top again. I've also managed to find all the soft bits (seals and headliner) on sale throughout the year, so I can complete the top after the paint cures. I'd really like it to be ready for this fall.


Third Brake Light
Little British Cars are by definition 'Little'. So while driving around the highways and byways amongst jacked up pickup trucks and soccer moms in their Expeditions and Suburbans, being seen is always a priority.
To that end, I decided I wanted a third brake light on my car. I search high and low for just the right one and then came across a nice one while I was at 'The Mitty' this past spring. My friend Jeff G. had a nice license plate frame mounted brake light. I could not help but see it while I was there, and I decided I needed one.
I eventually found what I needed on Amazon.com.
Here are the installation pics. I wired it into the car through the license plate illumination holes, and used piggyback connectors to connect it to the light connectors on the driver's side lights.
The results are great. Its very bright and very hard to miss.

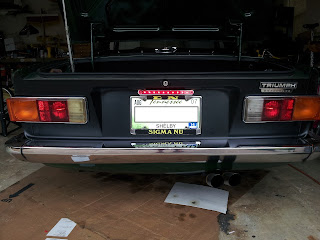
To that end, I decided I wanted a third brake light on my car. I search high and low for just the right one and then came across a nice one while I was at 'The Mitty' this past spring. My friend Jeff G. had a nice license plate frame mounted brake light. I could not help but see it while I was there, and I decided I needed one.
I eventually found what I needed on Amazon.com.
Here are the installation pics. I wired it into the car through the license plate illumination holes, and used piggyback connectors to connect it to the light connectors on the driver's side lights.
The results are great. Its very bright and very hard to miss.


Tuesday, July 30, 2013
TR6 Differential Mounts
There are a few givens with Triumph TR6's.
You'll have fun in them!
People will compliment them when you are out driving them.
The differential mount will eventually break!
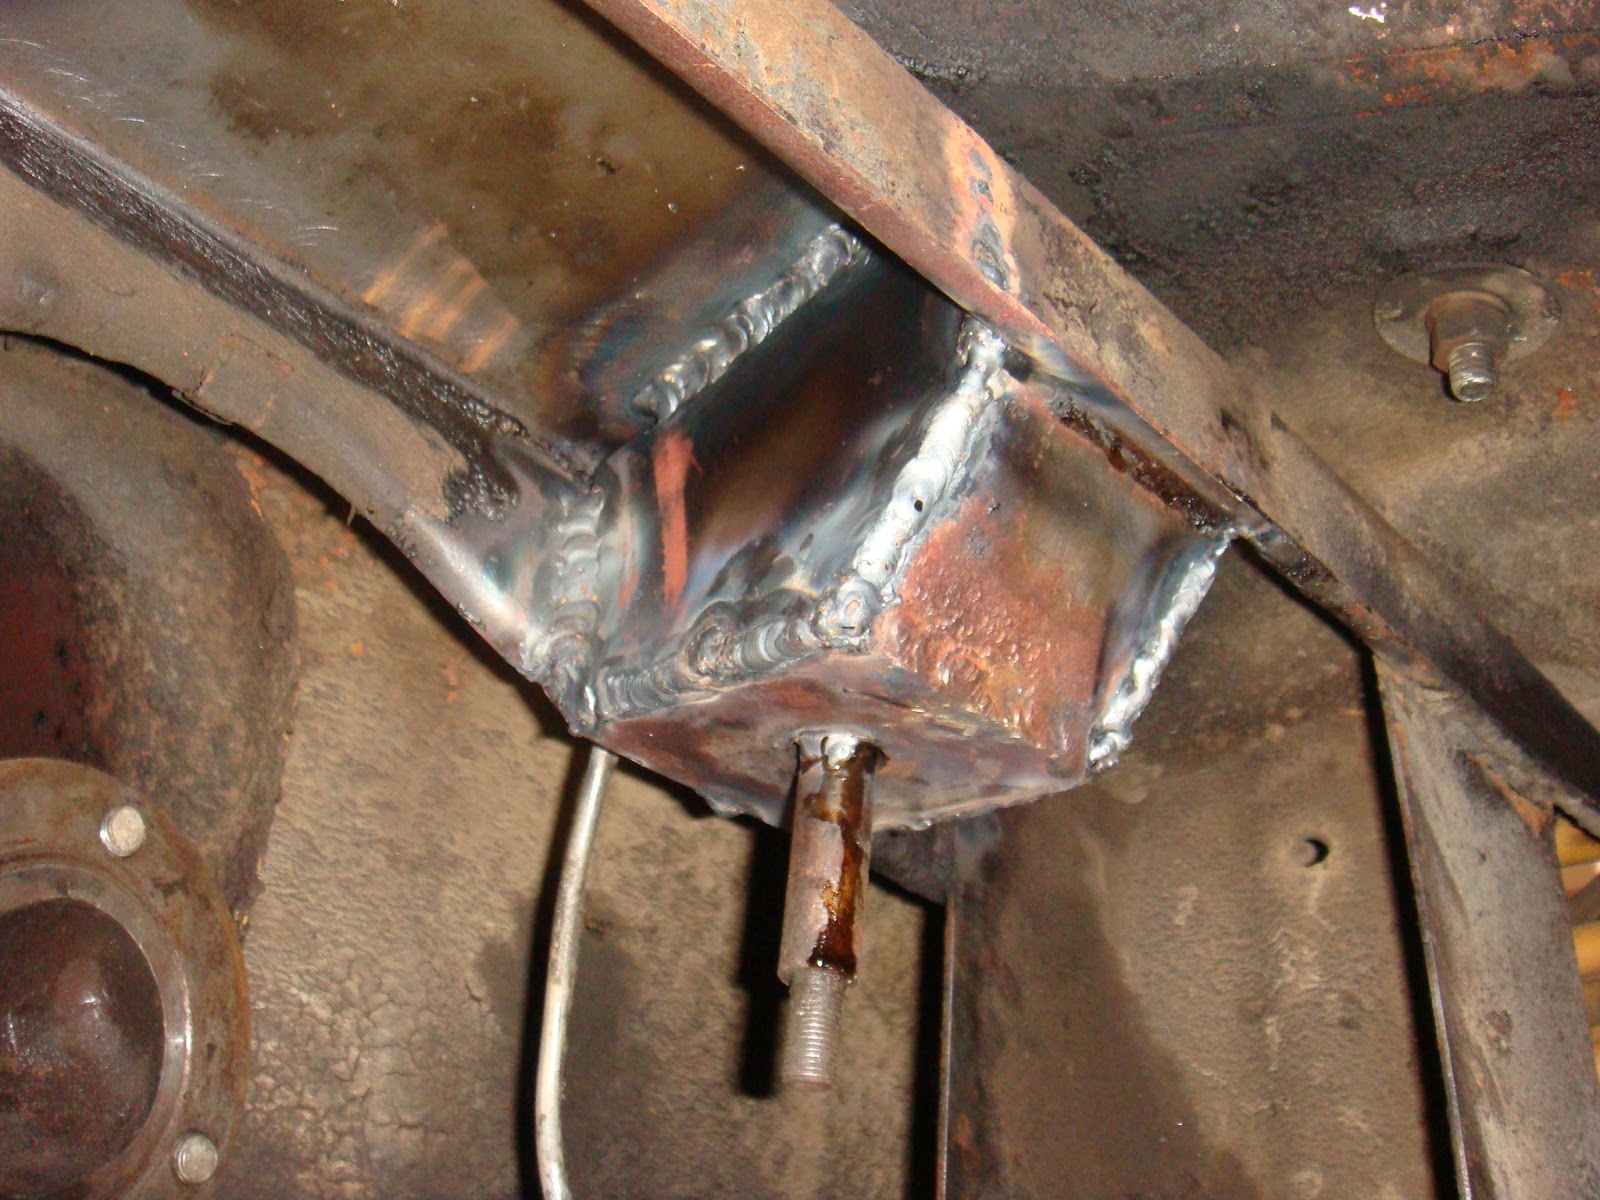
I recently undertook the process of dropping the differential and reinforcing the mounts. My good buddy Boris happens to be a vintage car nut and a good welder. Without his help, this would have never happened.
When we dropped the differential, we found that my mounts were broken, and they had actually been broken at least once before. The car is 40 years old, and I've owned it for 23 of those years, so somewhere along the line she broke.
I did all the mechanical work, all the reinforcement plate fabrication and all the cleanup to ensure the welding would go well. Boris did all of the welding. Believe me, he had the toughest job by far. He did a brilliant job of welding over his head in very cramped quarters.
I'm pleased with the end results. The back end of the car is more solid and the clunk caused by the cracked passenger side front mount is now gone. Thank goodness! (and Boris)


You'll have fun in them!
People will compliment them when you are out driving them.
The differential mount will eventually break!
I recently undertook the process of dropping the differential and reinforcing the mounts. My good buddy Boris happens to be a vintage car nut and a good welder. Without his help, this would have never happened.
When we dropped the differential, we found that my mounts were broken, and they had actually been broken at least once before. The car is 40 years old, and I've owned it for 23 of those years, so somewhere along the line she broke.
I did all the mechanical work, all the reinforcement plate fabrication and all the cleanup to ensure the welding would go well. Boris did all of the welding. Believe me, he had the toughest job by far. He did a brilliant job of welding over his head in very cramped quarters.
I'm pleased with the end results. The back end of the car is more solid and the clunk caused by the cracked passenger side front mount is now gone. Thank goodness! (and Boris)




Subscribe to:
Posts (Atom)